1985 Honda Aero 50
Posted: Sat Feb 13, 2010 1:05 pm
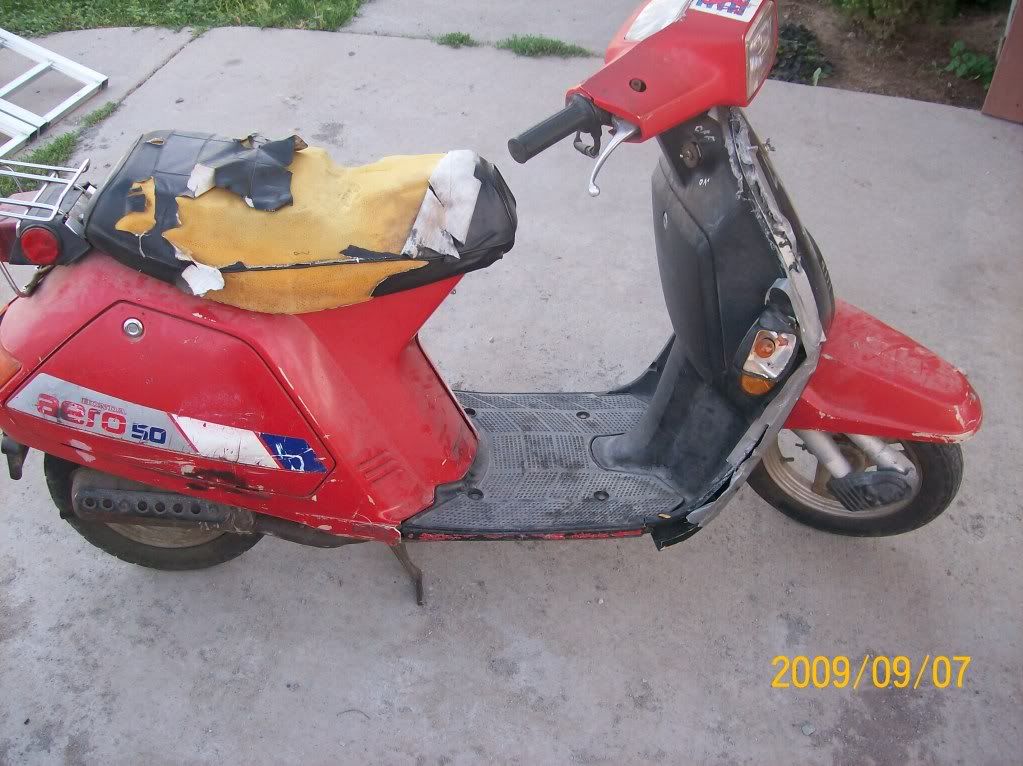
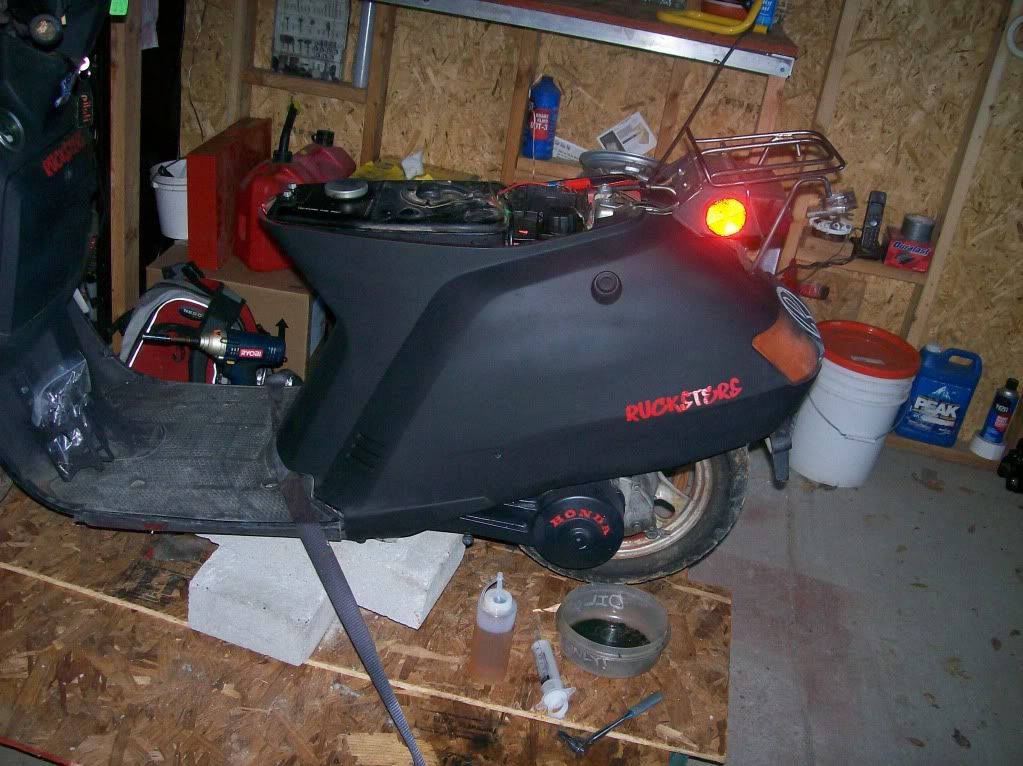
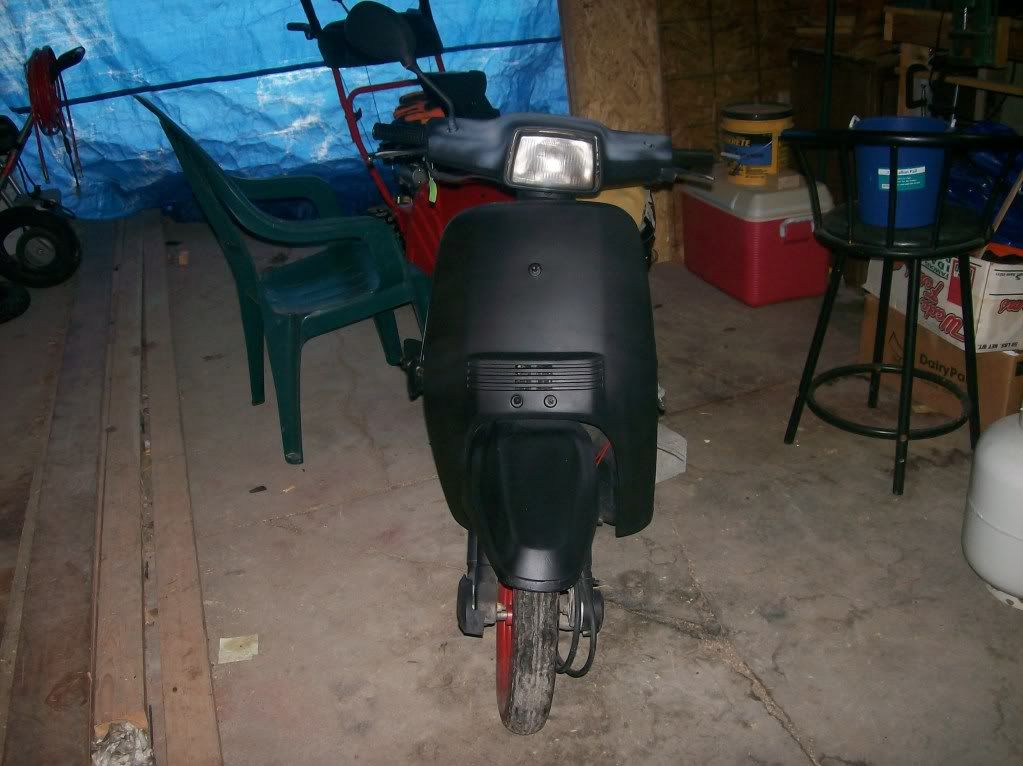
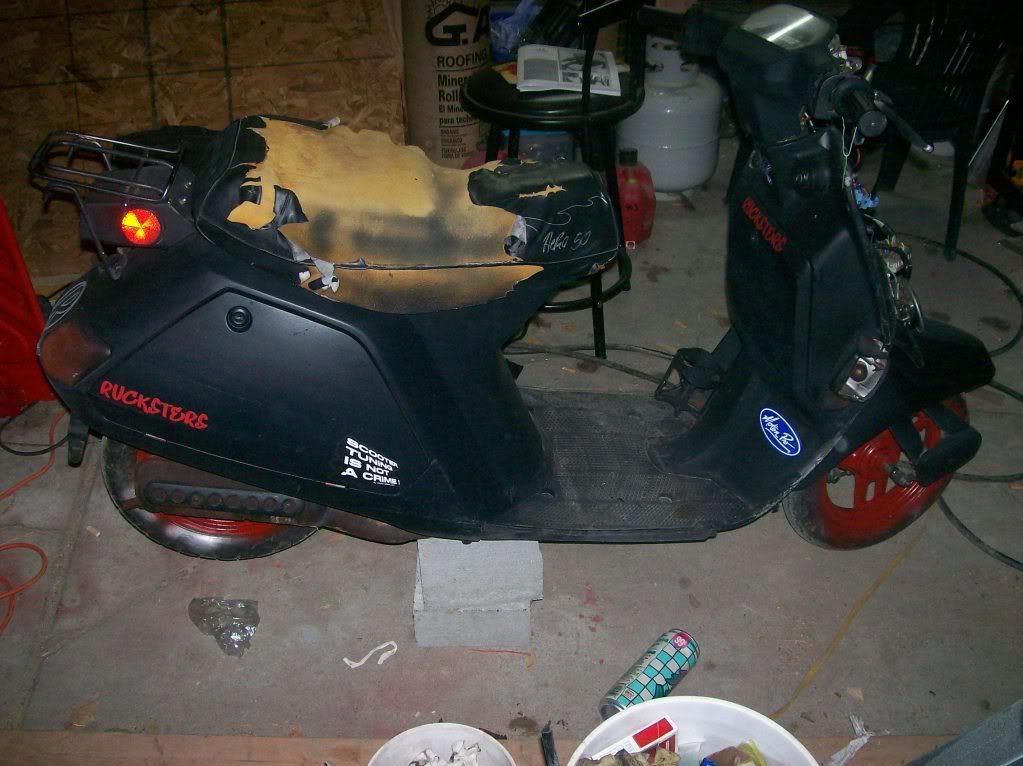
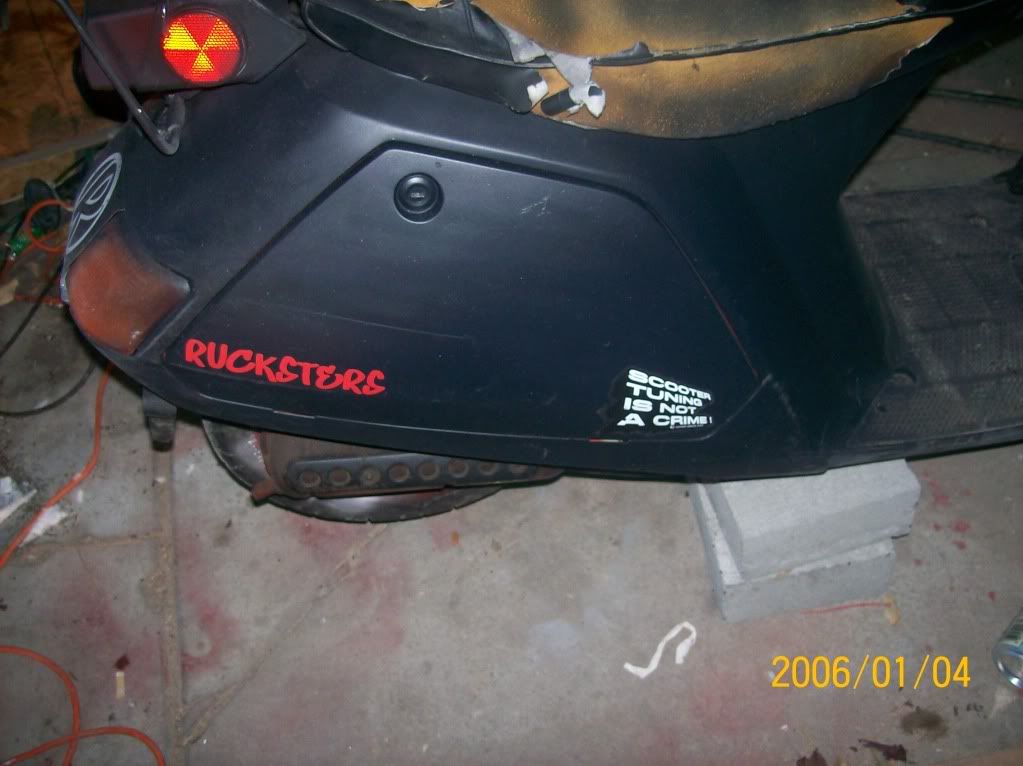
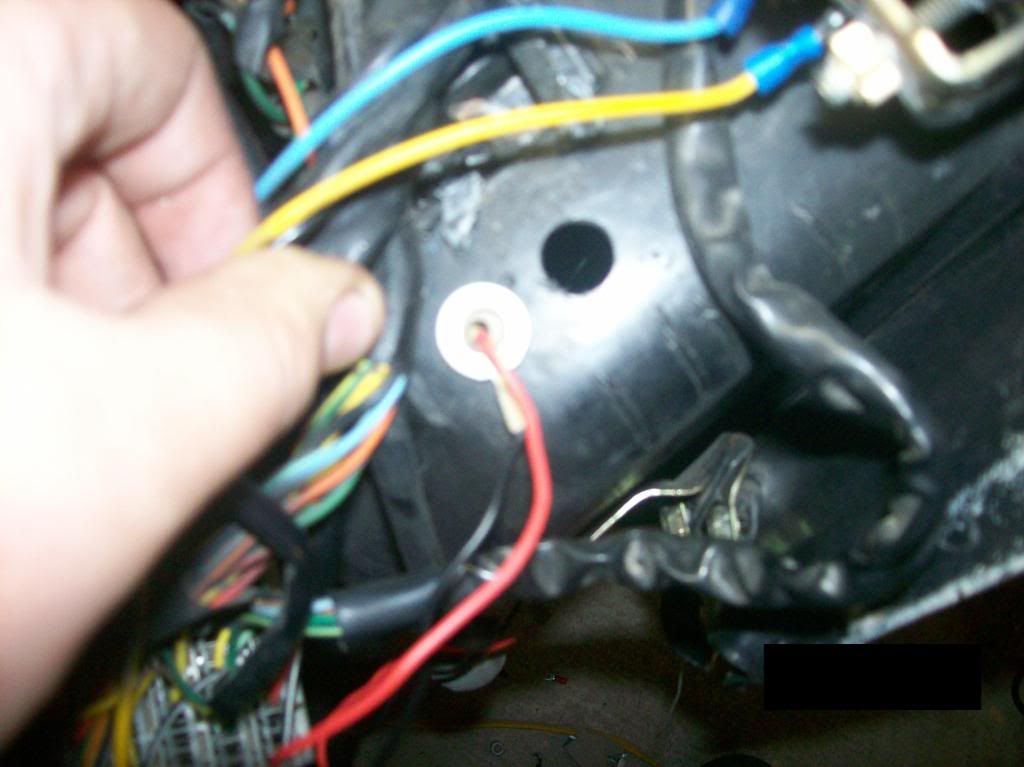
This is the build thread for my Aero 50. Paid 100 bones for it from a guy of CL. Didnt have a ignition, just a switch were the key went, so I went to Napa and got a universal ignition (4 post) and took the two wires from the switch and then the two from the starter button; connected them on the switch and now I have a working ignition. I've also replaced the flasher relay, air filter (O.E.M) then switched over to a UNI pod filter, repaired most of the body panels, replaced the plug, final drive oil, coil and some other odds and ends. Painted it flat black using 99 cent Wal-Mart cans with a Krylon flat clear on them.
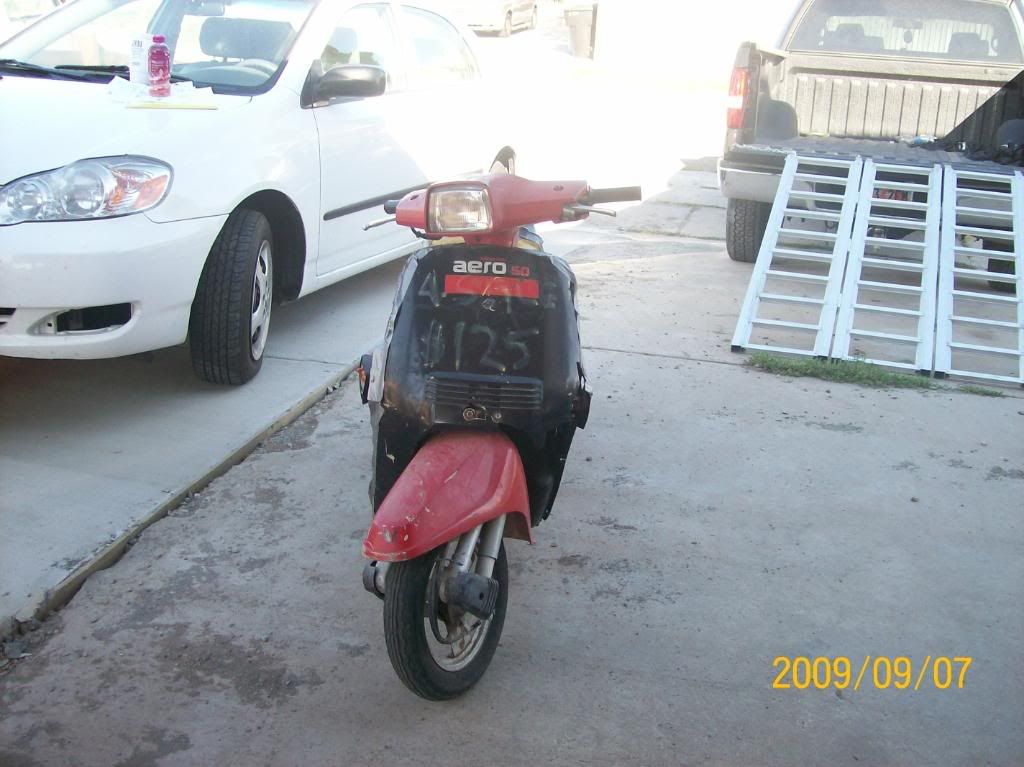
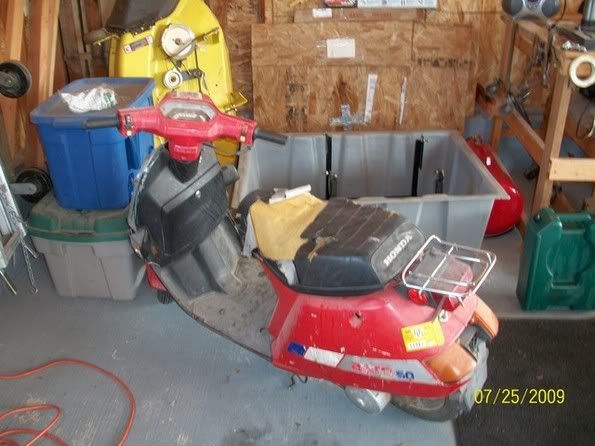
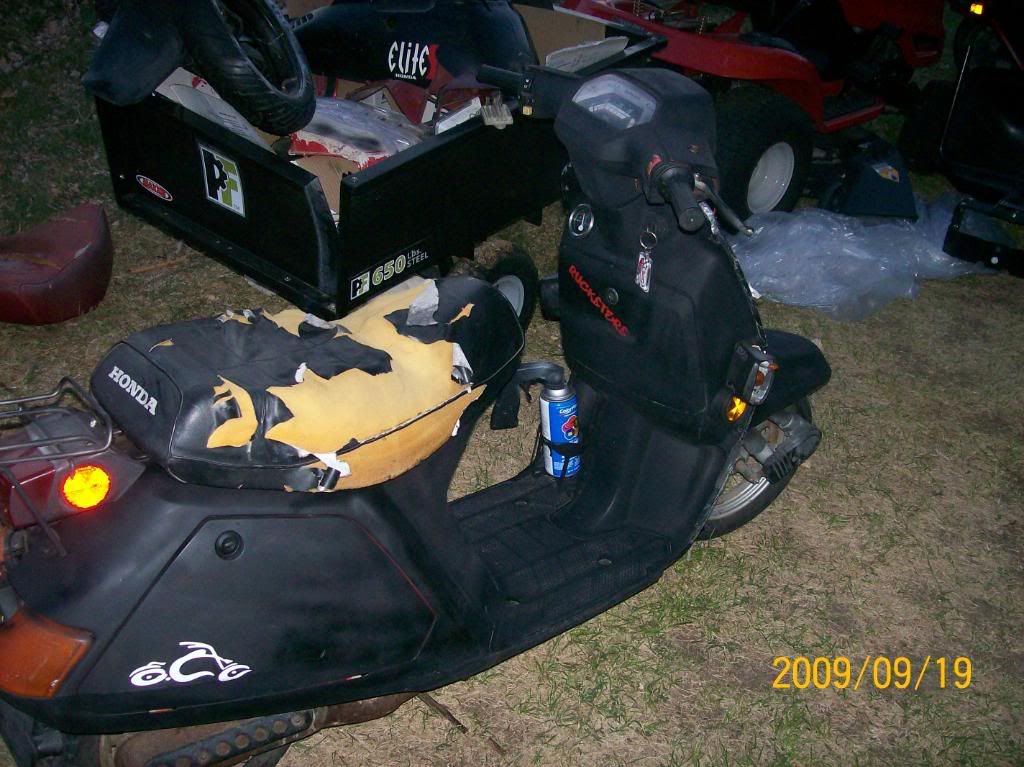
Here are some before pics:
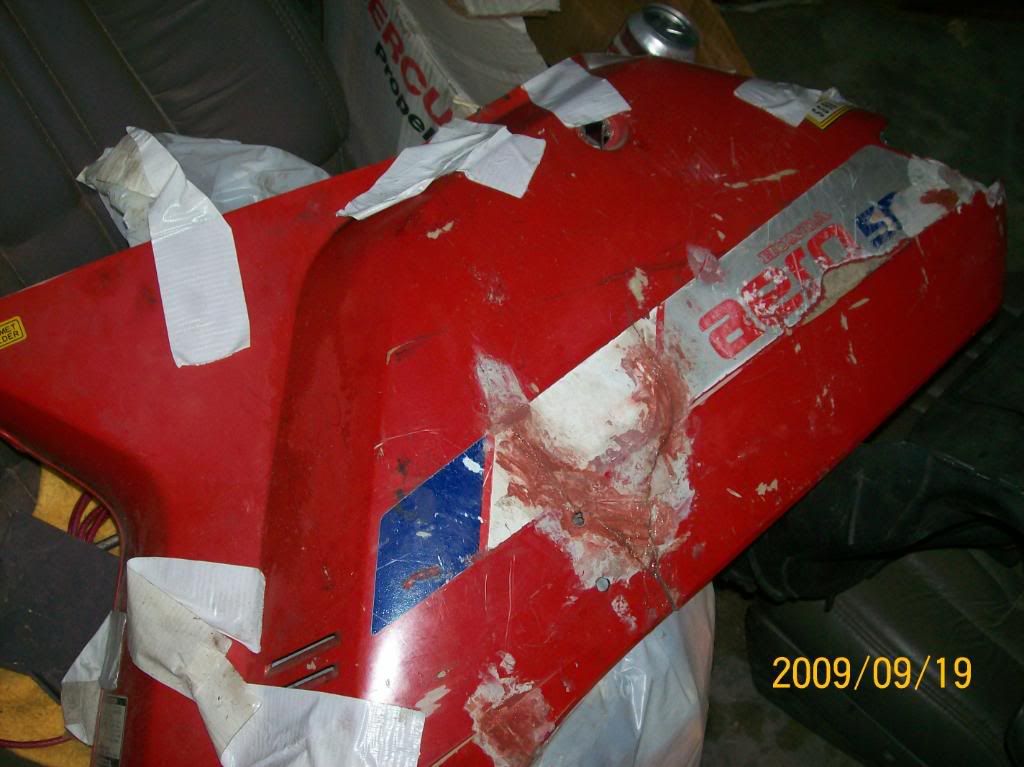
Fixed some more of the panels and made it look decent.
body work:

Ended up buying the front faring from a forum member.
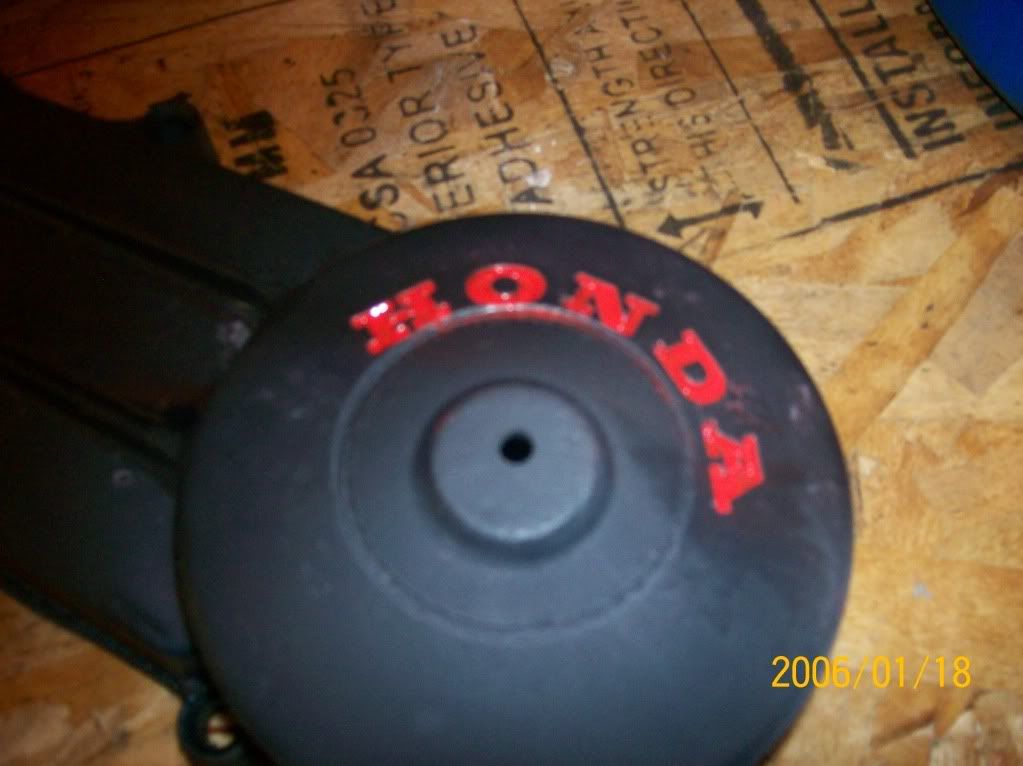
During paint:
After Paint:
_______________________________________
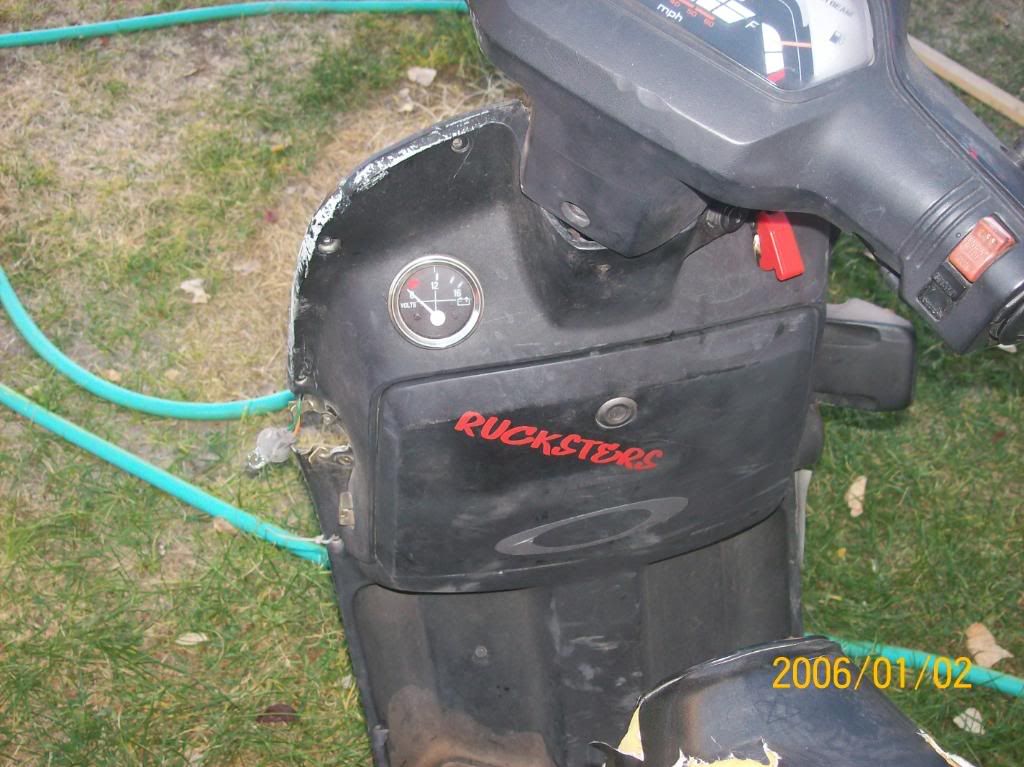
Then, I did some what I think is ÔÇ£custom touchesÔÇØ to it.
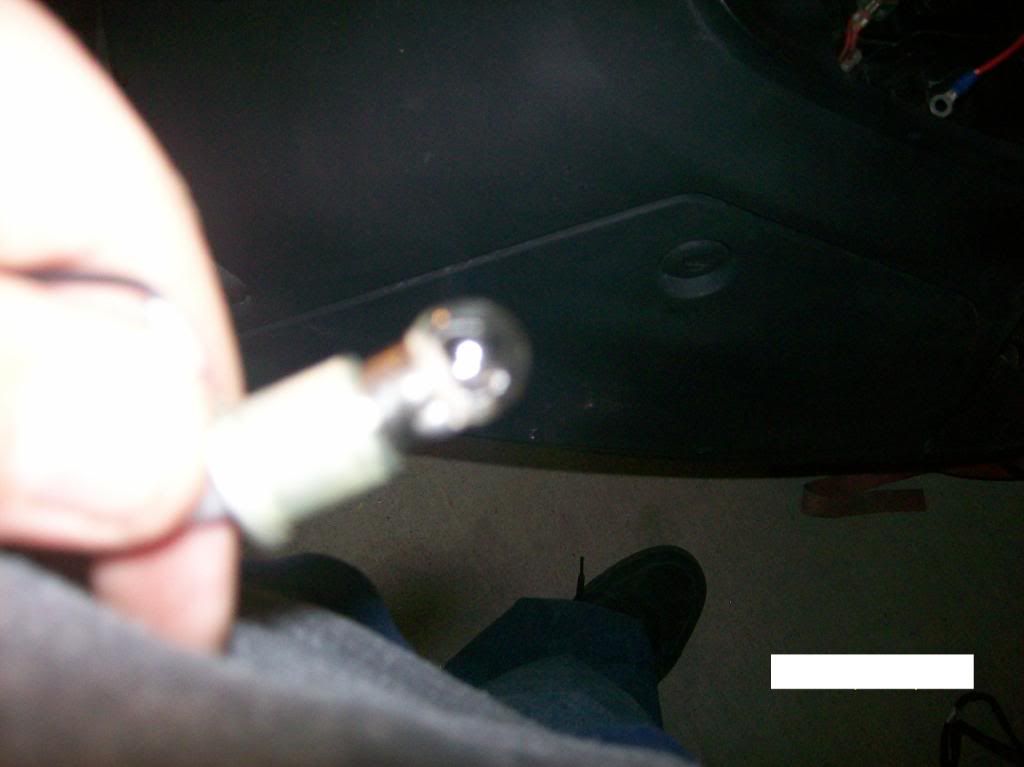
The lights are from some old Sunpro gauges I had laying around the shop.
-while mounting them


The Volt-Meter is from Harbor Freight (on sale for $6.00).

_______________________________________
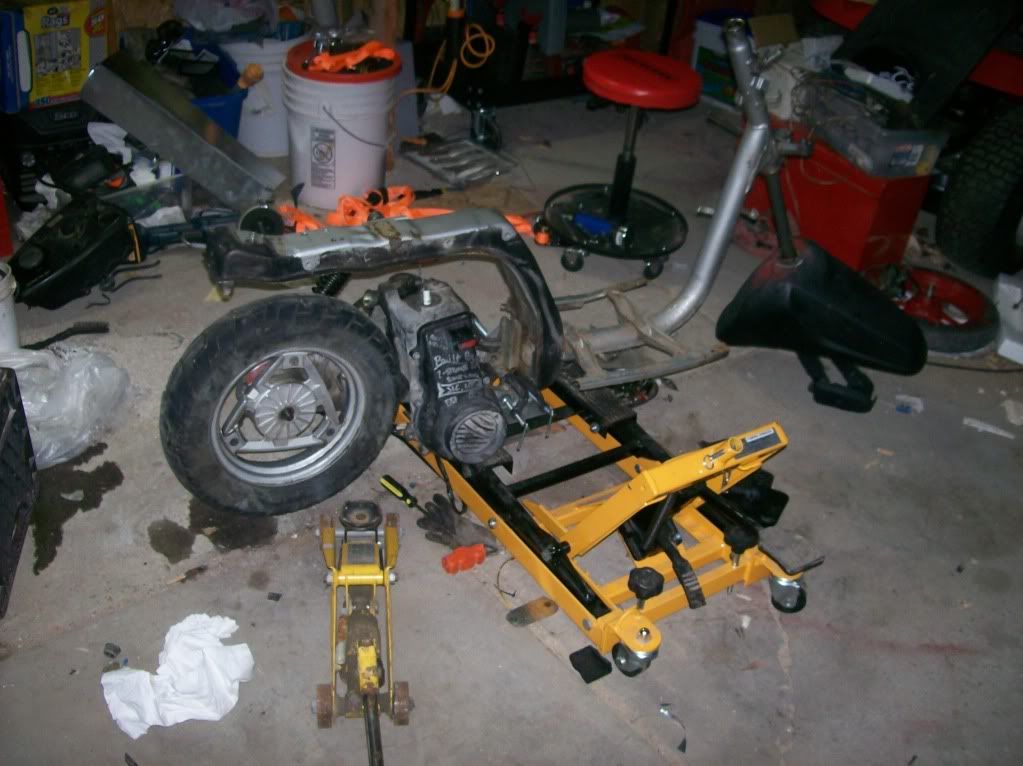
I got it running and cruised around the neighborhood for a bit and realized that the stock 50cc was a little slow for my fat *, so I decided to swap the engine. Not a GY6, not a Dio (AF16E), but a NH80 (Aero 80) engine.
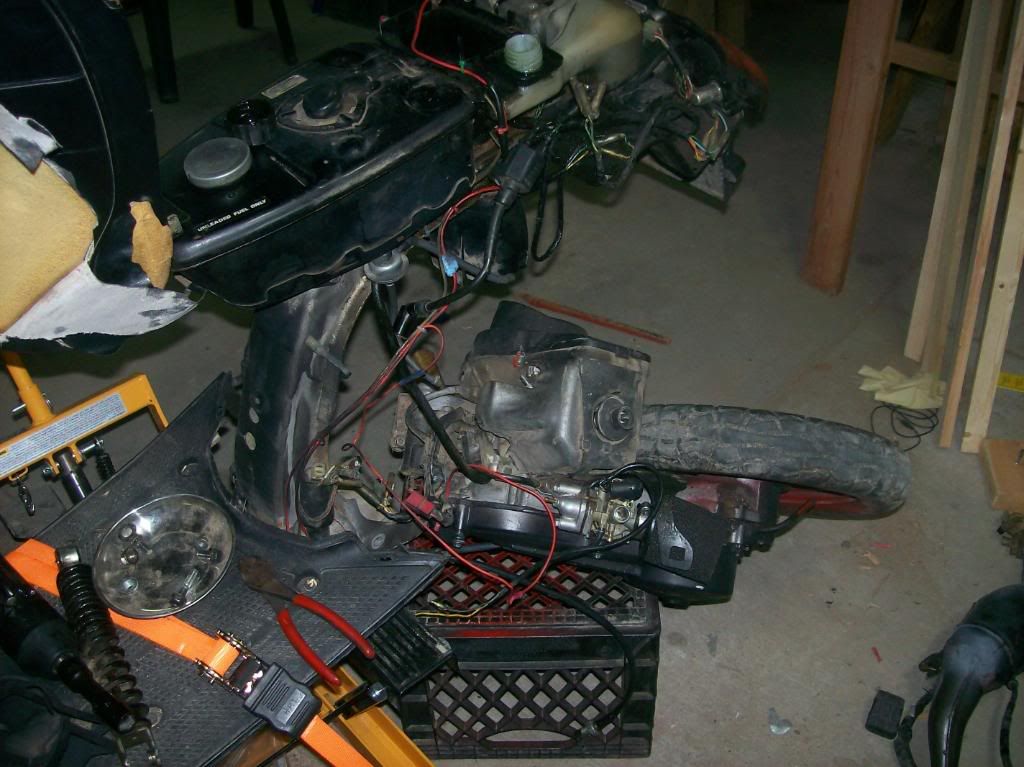
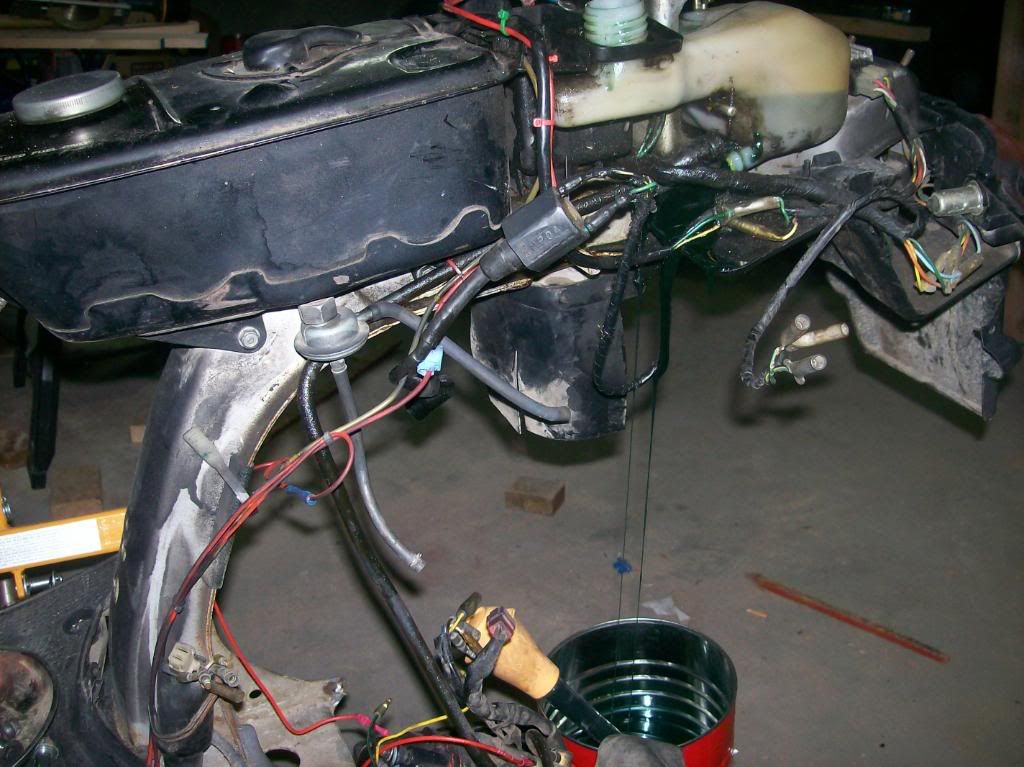
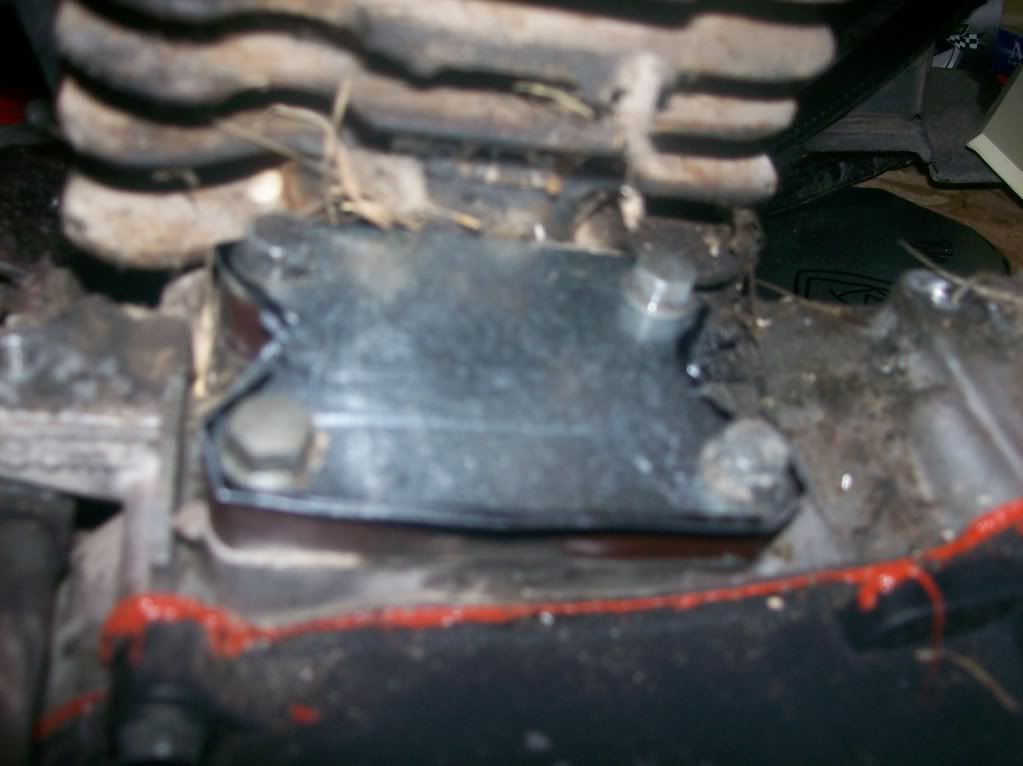
I started by pulling the stock engine out:
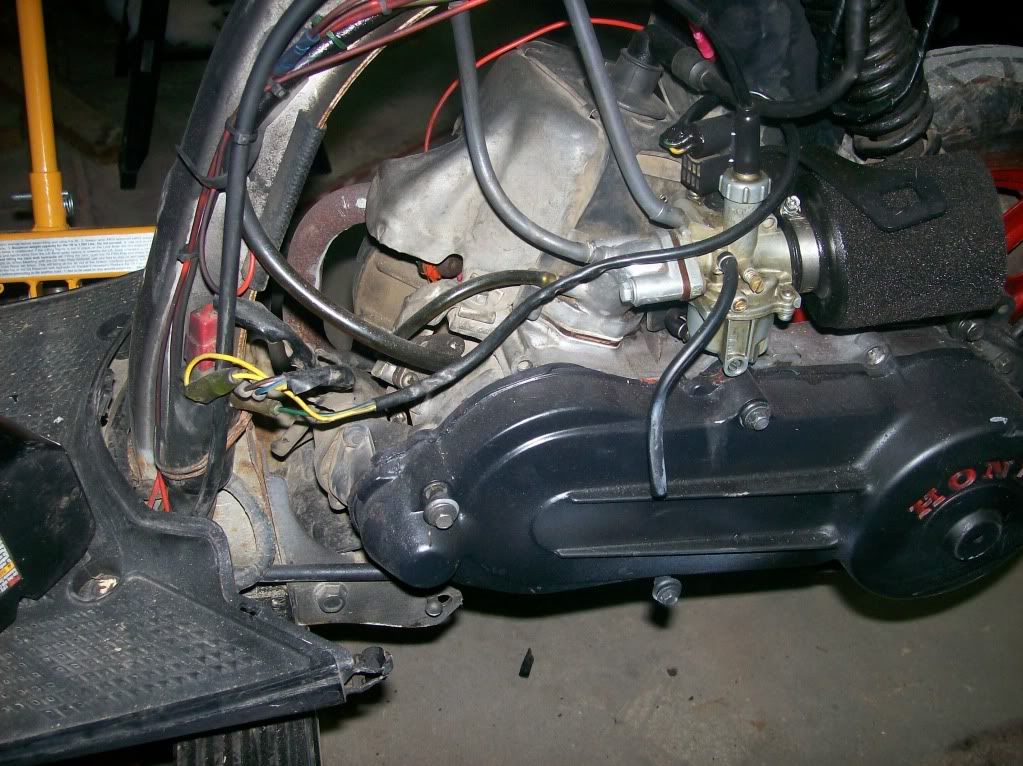
Test-fitted the new engine:
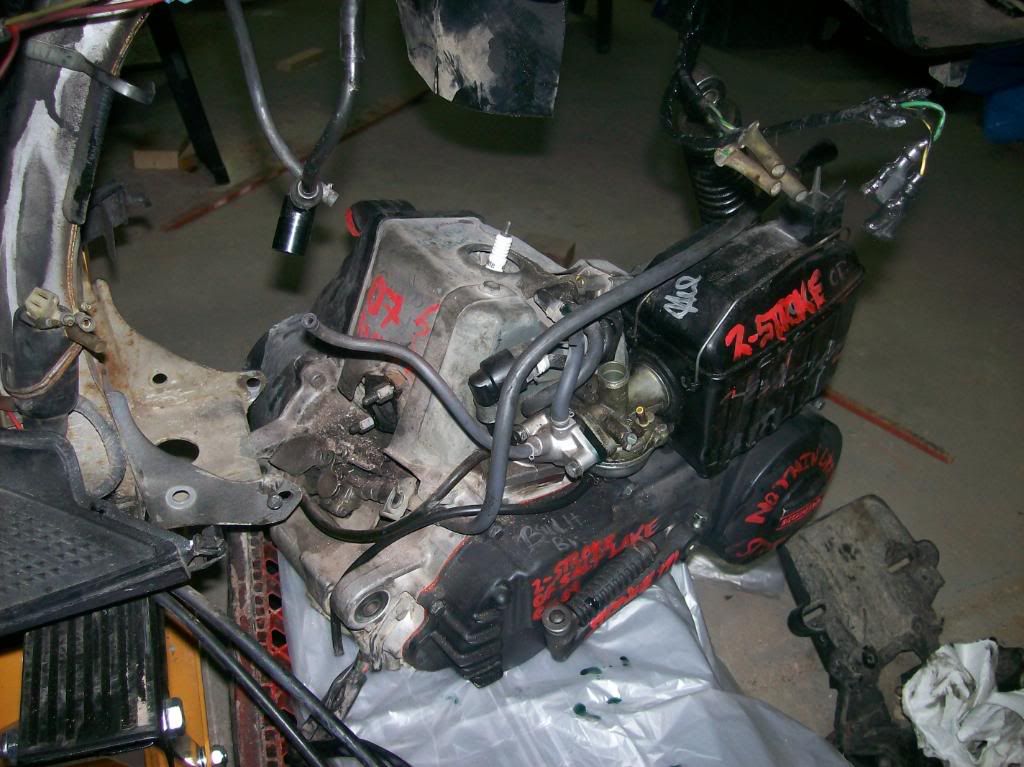
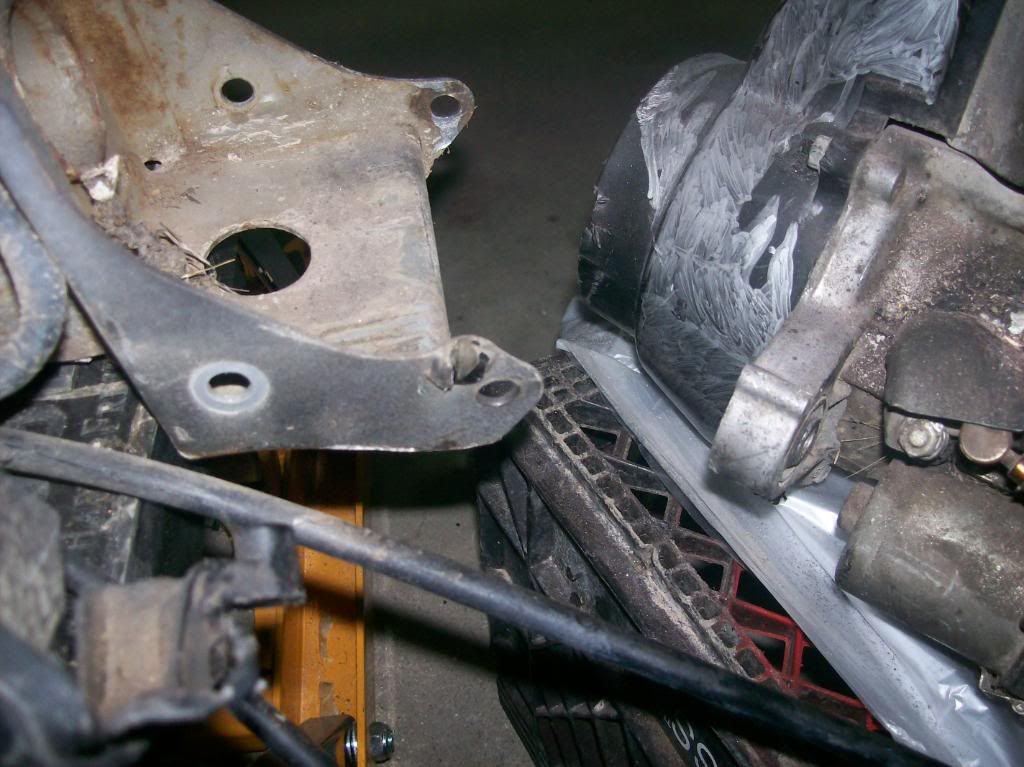
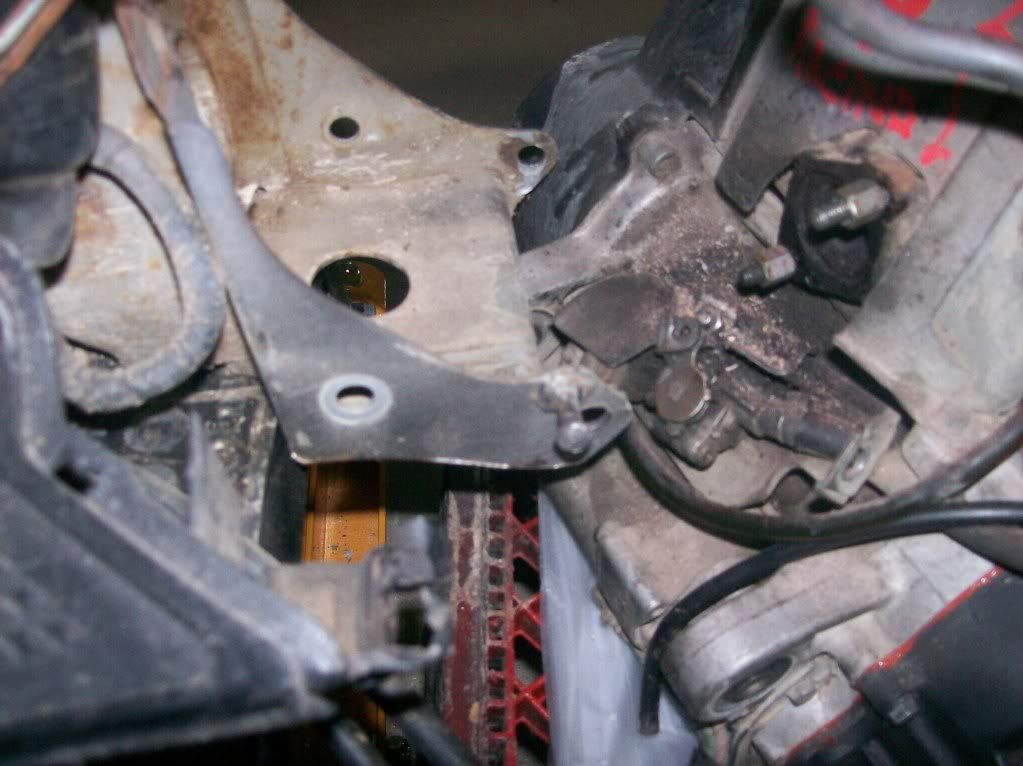
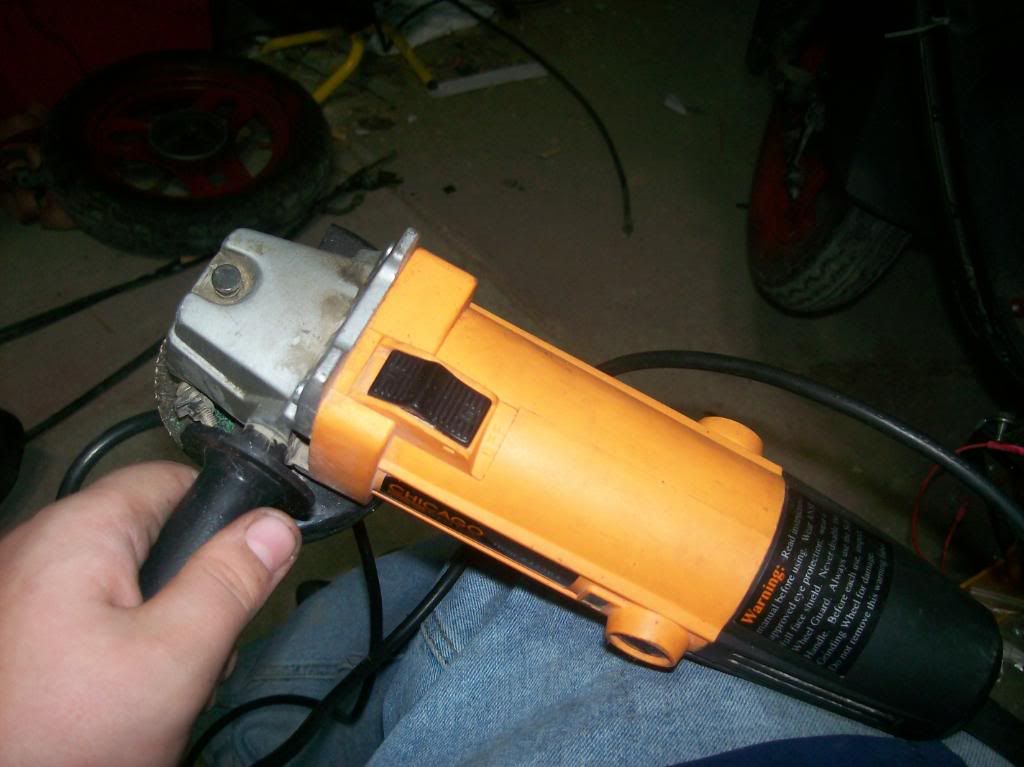
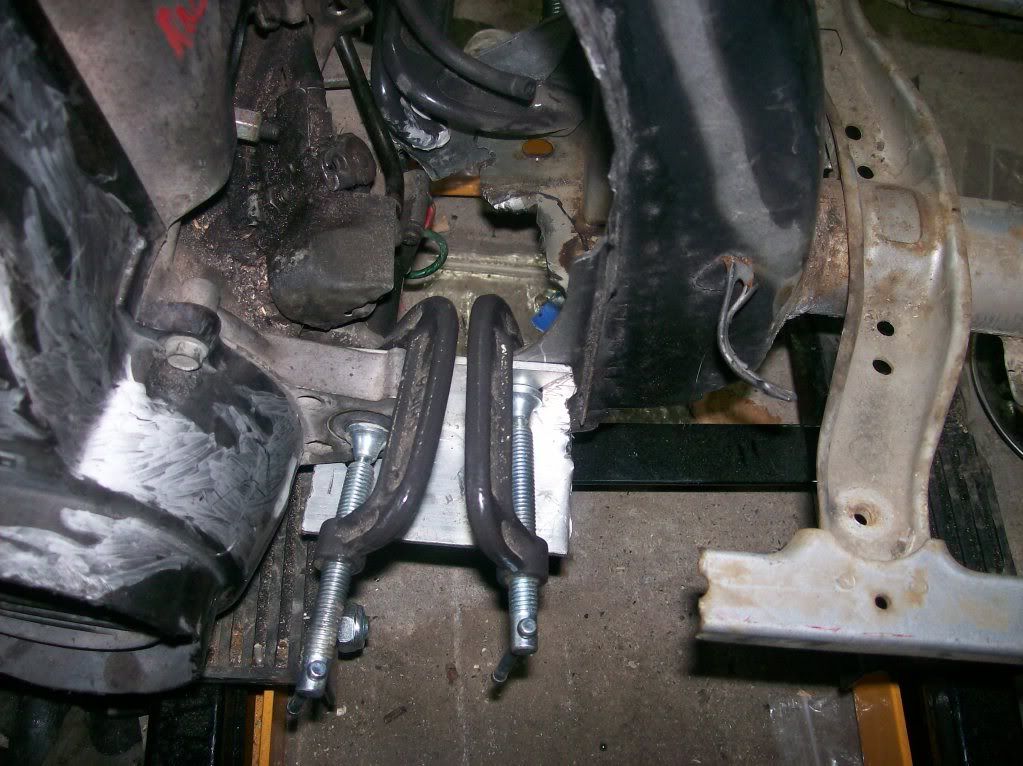
then, trimmed the frame up to get it to fit good:
-this became my new best friend
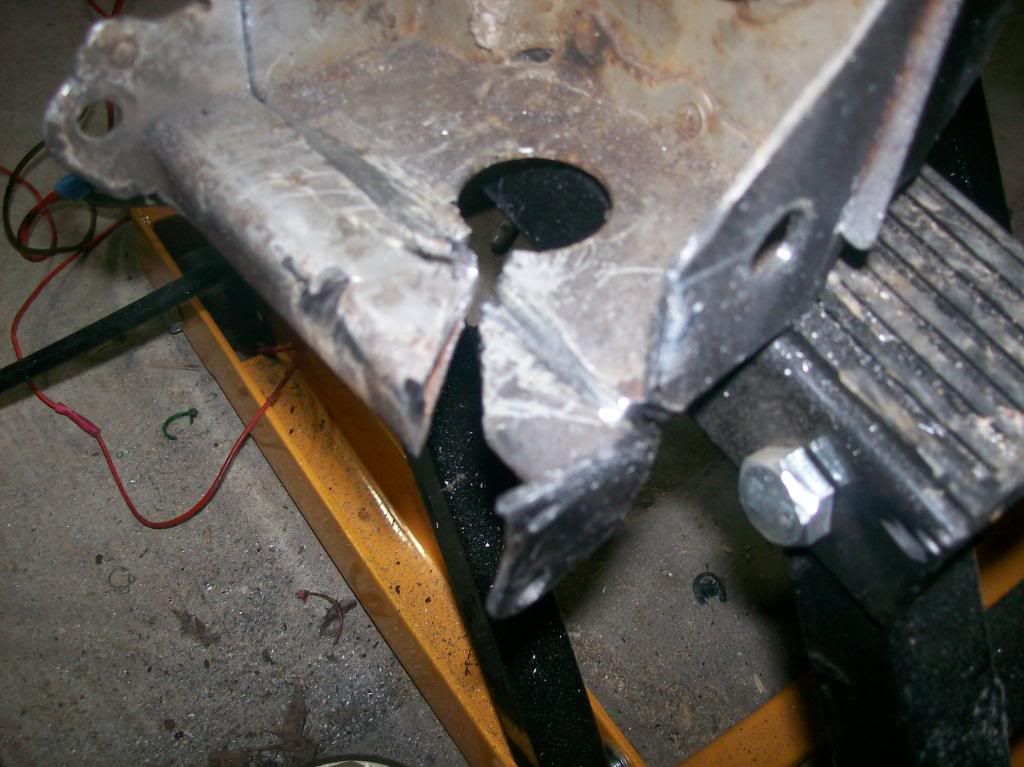

got it how I want it:
how it will mount (welded)
Took the frame to the carwash to clean it up.
_______________________________________
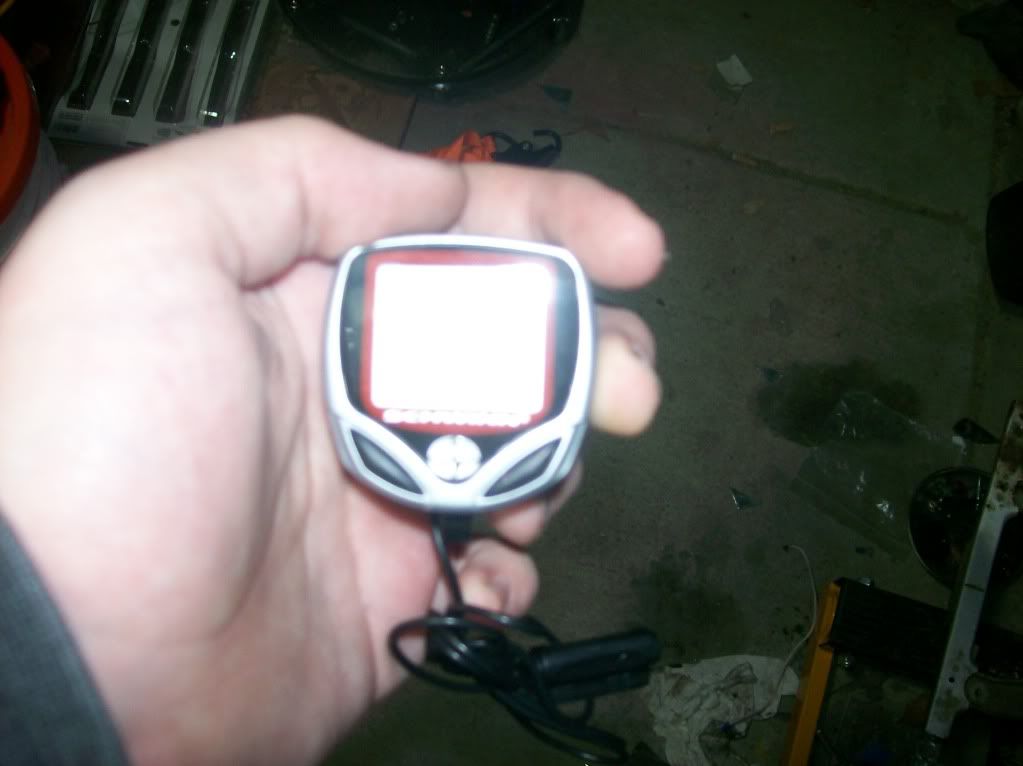
Here is a pic of the piece I made to go were the stock gauge cluster is. Going to use a bike computer as my gauge. Then maybe add a tach.
the speedometer I'm going to use.
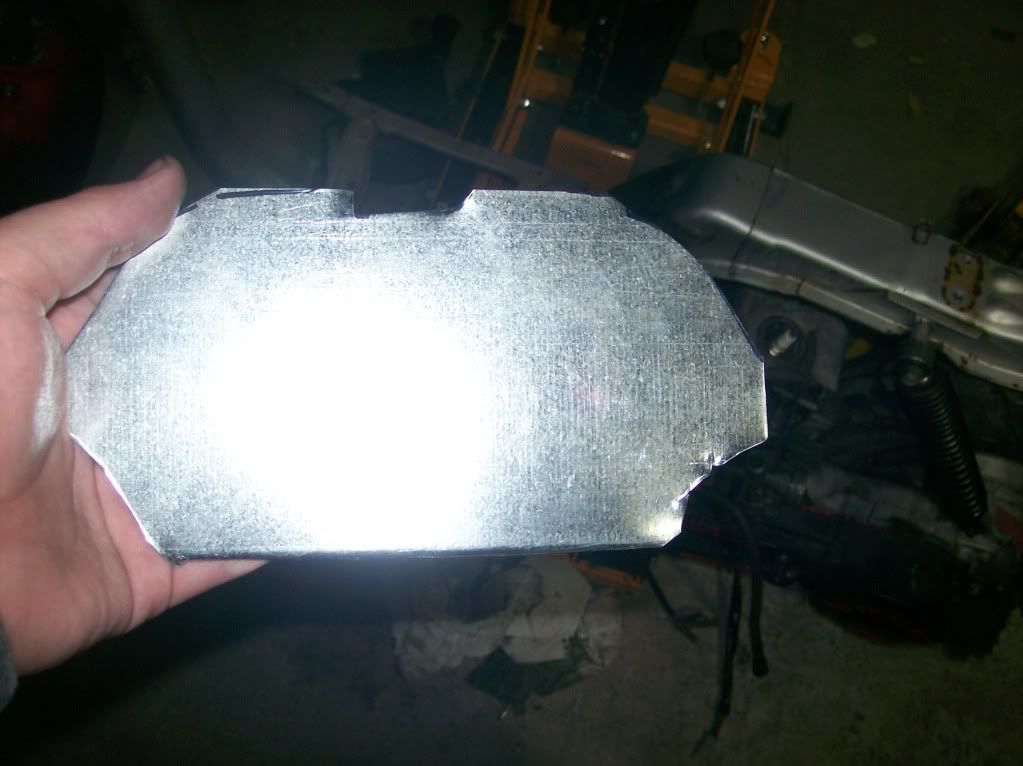
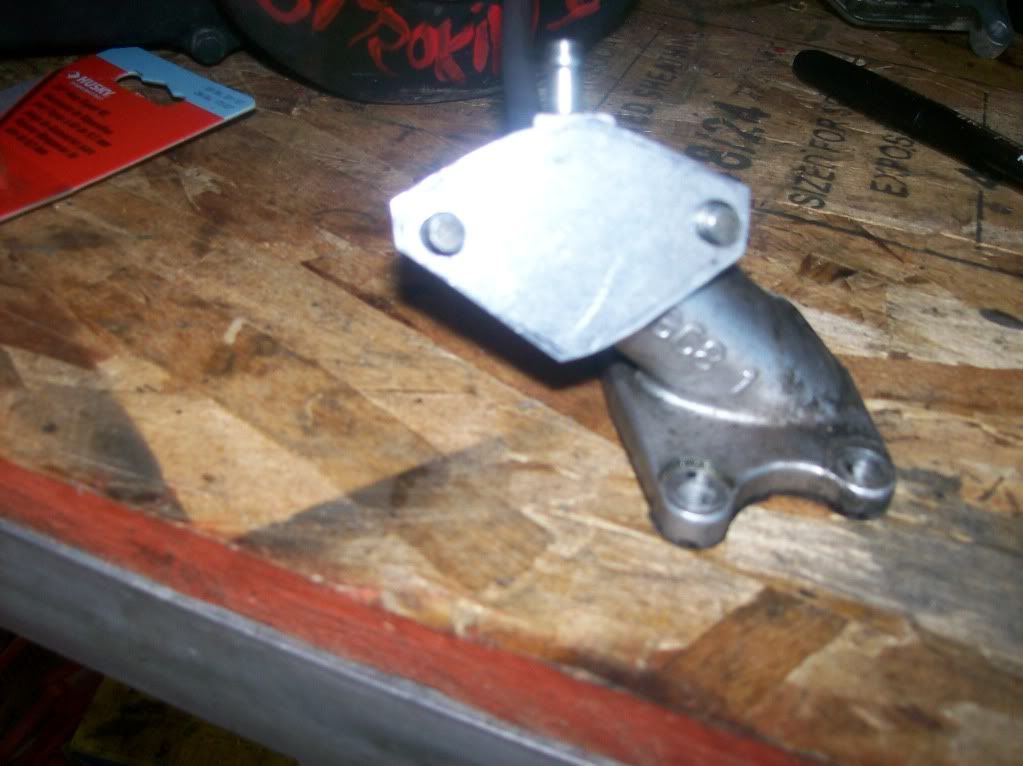
Here are the block-off plates I made for when the carb or the intake is off, nothing will get in, also great for storage or shipping.
intake:
carb:
_______________________________________
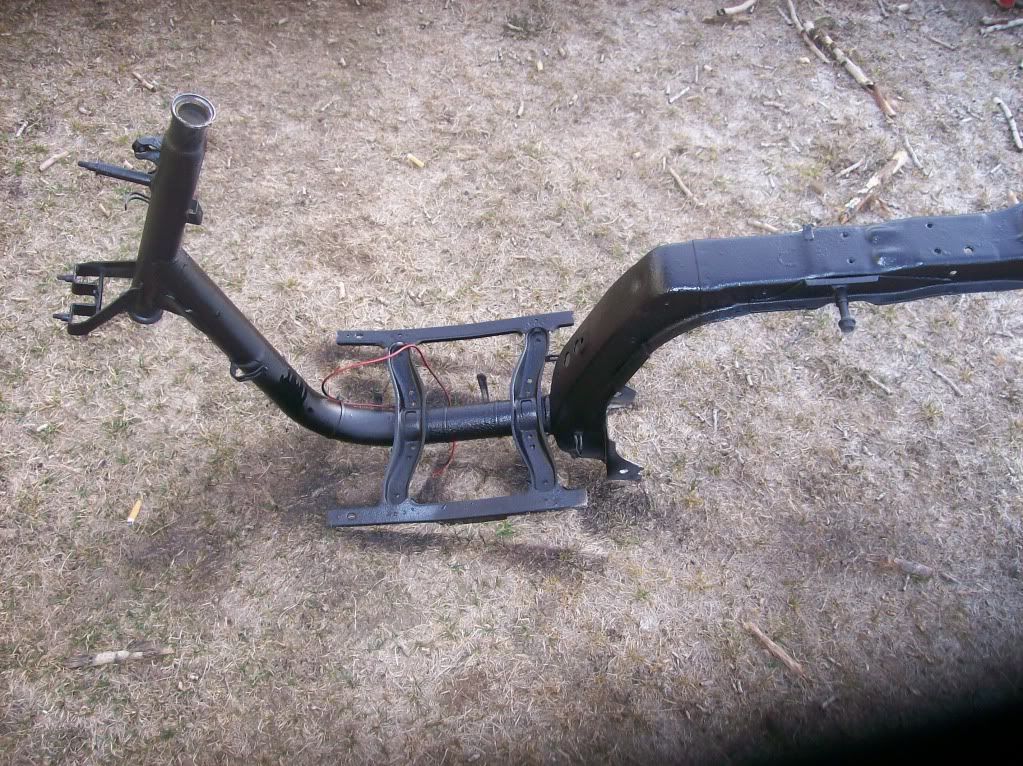
Painted the frame.
This is the product I used.
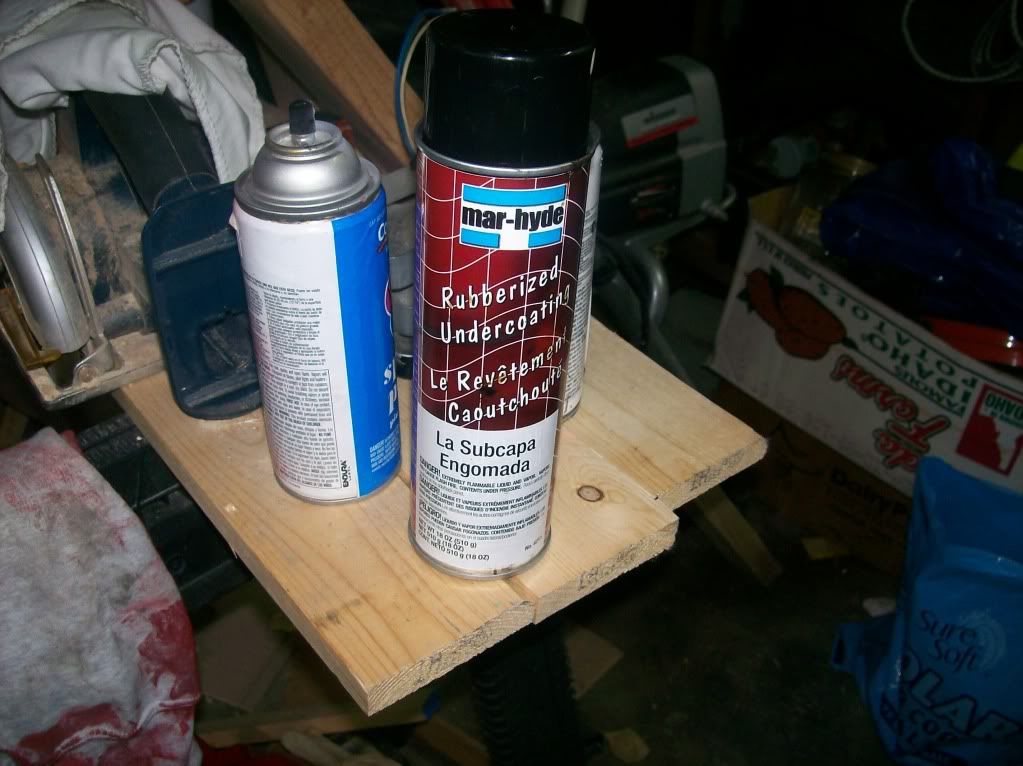
Rubberized Undercoating
$3.97 at Wal-mart.
frame painted:
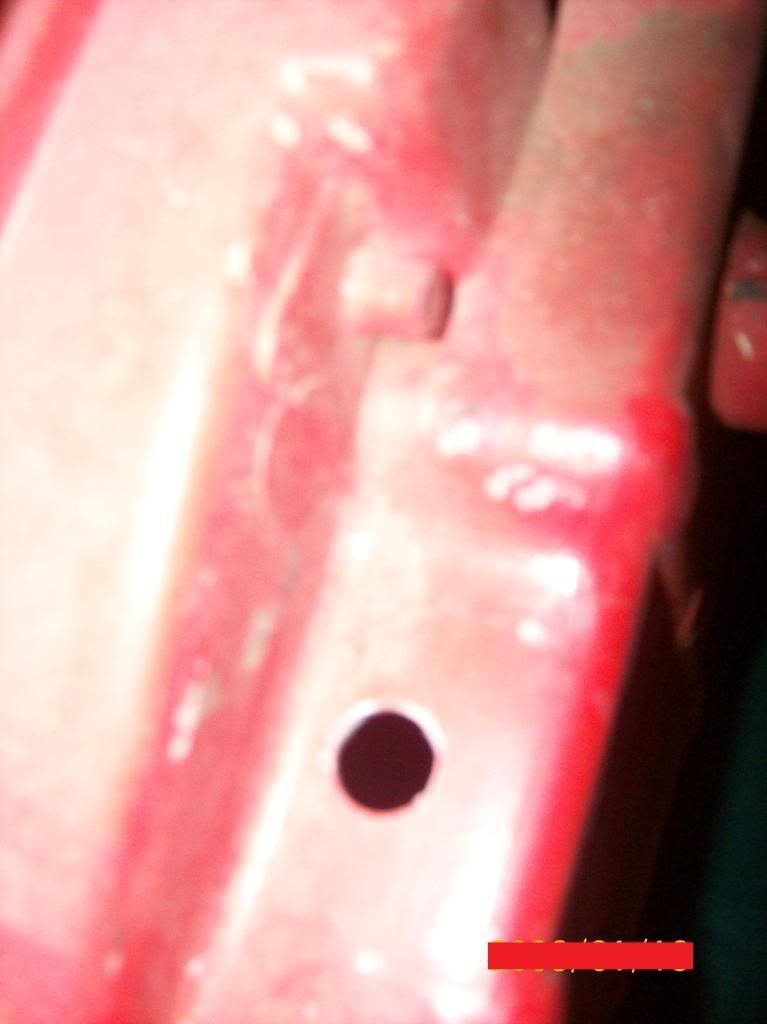
Had to rebuild the switch panel, while I was drilling the other hole for the switch, got to close to the other and screwed it up.
This one is a little bigger and has the 3 switches side-by-side.

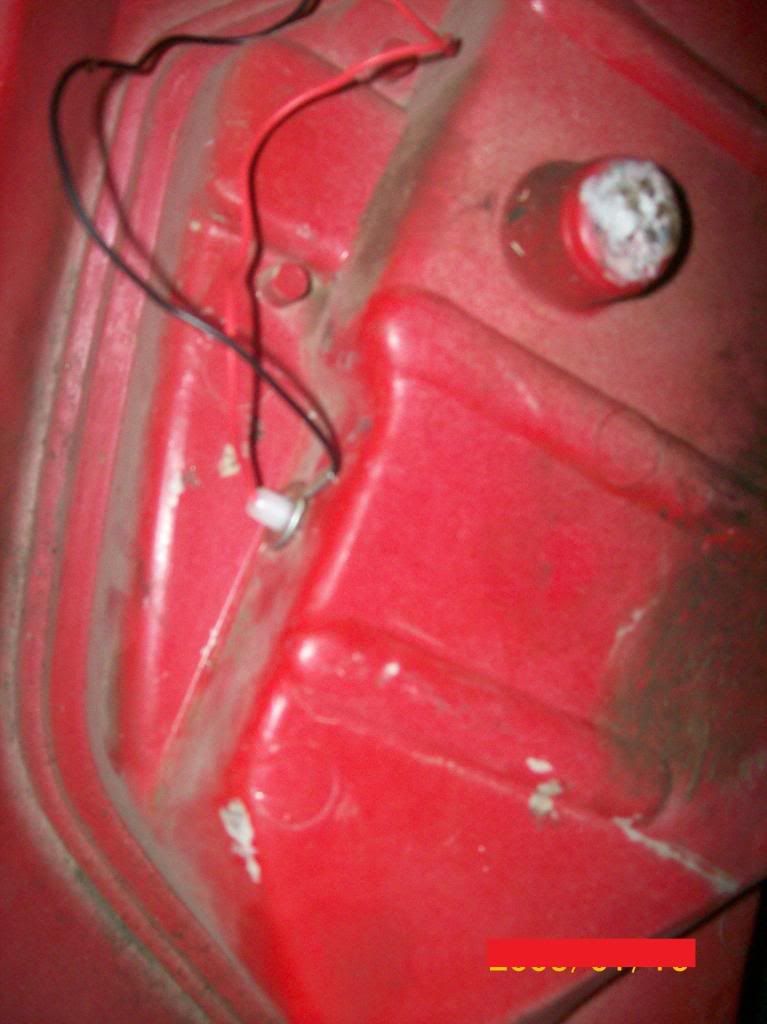
Here are the lights mounted to the frame via JB weld.
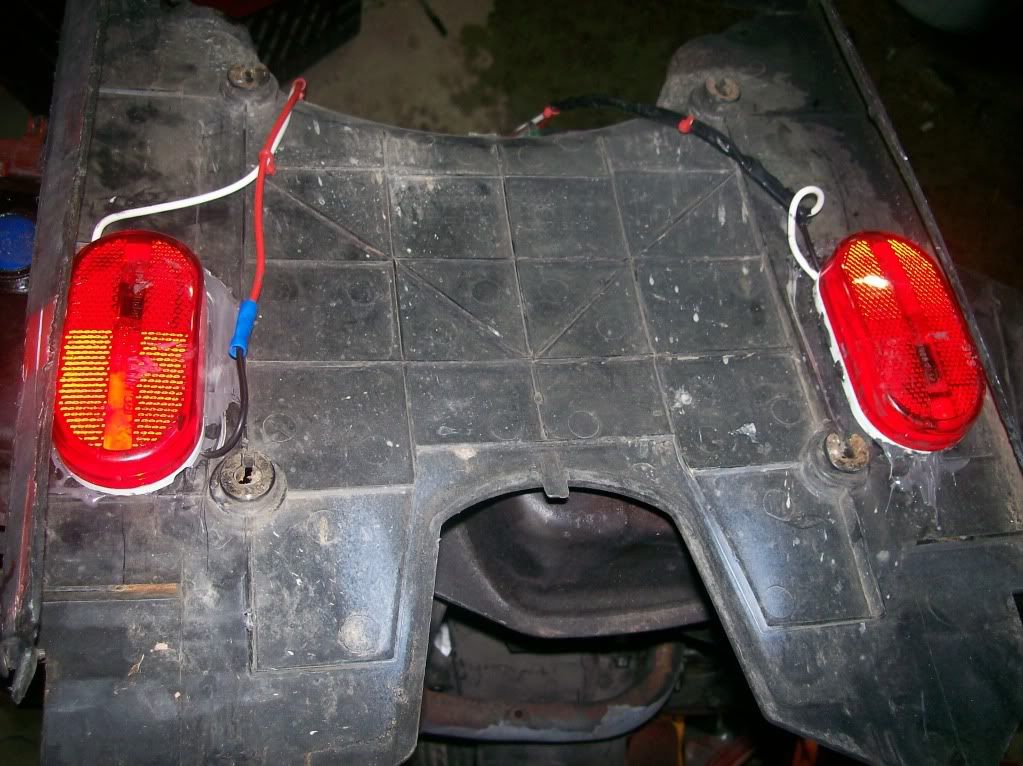
Going to try to get the wiring done today (2-13-10).
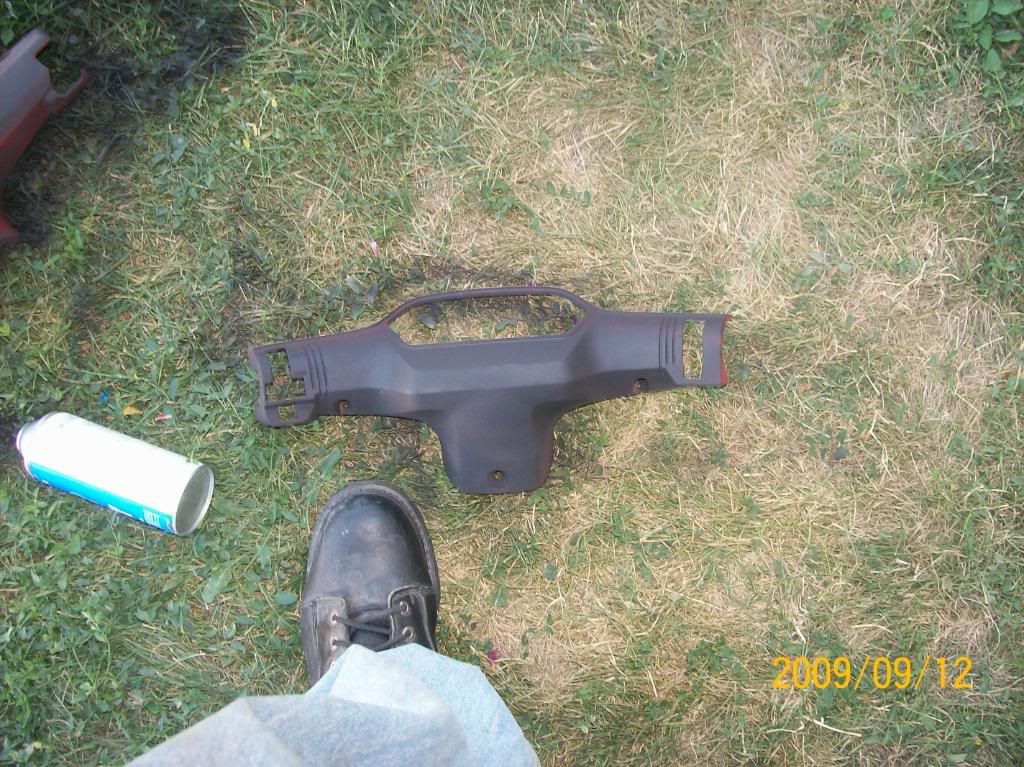
Here are some before pics:
Fixed some more of the panels and made it look decent.
body work:
Ended up buying the front faring from a forum member.
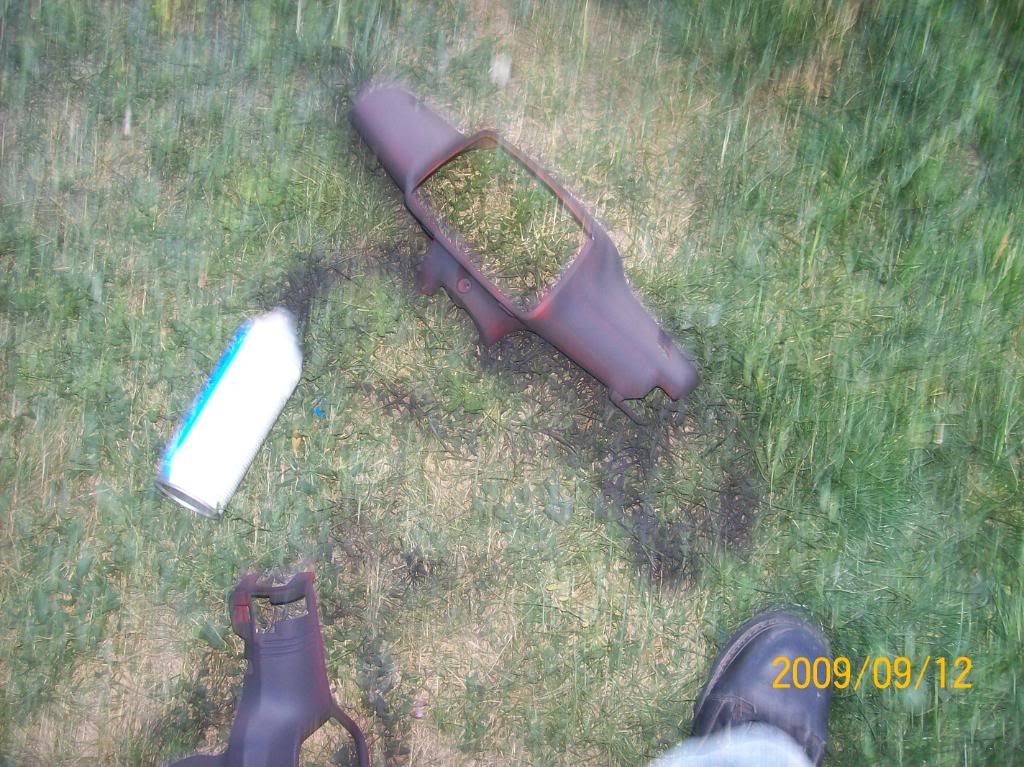
During paint:
After Paint:
_______________________________________
Then, I did some what I think is ÔÇ£custom touchesÔÇØ to it.
The lights are from some old Sunpro gauges I had laying around the shop.
-while mounting them
The Volt-Meter is from Harbor Freight (on sale for $6.00).
_______________________________________
I got it running and cruised around the neighborhood for a bit and realized that the stock 50cc was a little slow for my fat *, so I decided to swap the engine. Not a GY6, not a Dio (AF16E), but a NH80 (Aero 80) engine.
I started by pulling the stock engine out:
Test-fitted the new engine:
then, trimmed the frame up to get it to fit good:
-this became my new best friend
got it how I want it:
how it will mount (welded)
Took the frame to the carwash to clean it up.
_______________________________________
Here is a pic of the piece I made to go were the stock gauge cluster is. Going to use a bike computer as my gauge. Then maybe add a tach.
the speedometer I'm going to use.
Here are the block-off plates I made for when the carb or the intake is off, nothing will get in, also great for storage or shipping.
intake:
carb:
_______________________________________
Painted the frame.
This is the product I used.
Rubberized Undercoating
$3.97 at Wal-mart.
frame painted:
Had to rebuild the switch panel, while I was drilling the other hole for the switch, got to close to the other and screwed it up.
This one is a little bigger and has the 3 switches side-by-side.
Here are the lights mounted to the frame via JB weld.
Going to try to get the wiring done today (2-13-10).
